
Before beginning the installation, we strongly recommend watching the video below. It provides a complete walkthrough of the process so you know exactly what to expect. After watching, follow the step-by-step guide below to carry out the installation and activation on your system.
Follow the instructions below to fully remove any previous versions of Microsoft Office, install Office 2024 Home & Business, and activate it using your product key. Each step includes visuals to help ensure the process is completed correctly.
Part 1: Remove Existing Microsoft Office
Step 1: Download the Office Reset Tool
Step 2: When prompted, click Allow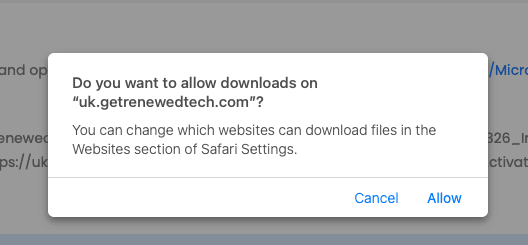
Step 3: Open your Downloads folder
Step 4: Double-click Microsoft_Office_Reset_1.9.1.pkg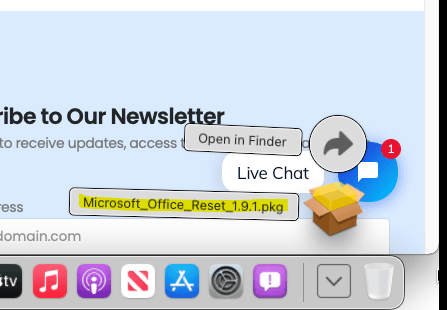
Steps 5–8: Proceed through the installer by clicking Continue
Step 9: Select Completely Remove Microsoft Office and click Continue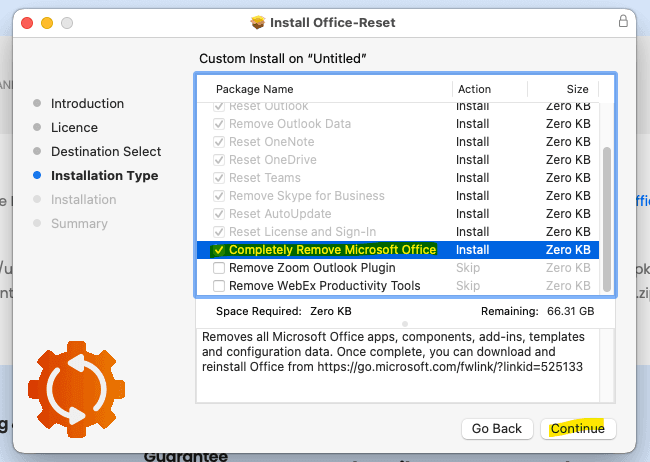
Steps 10–12: Click Install, then Close, and choose Move to Bin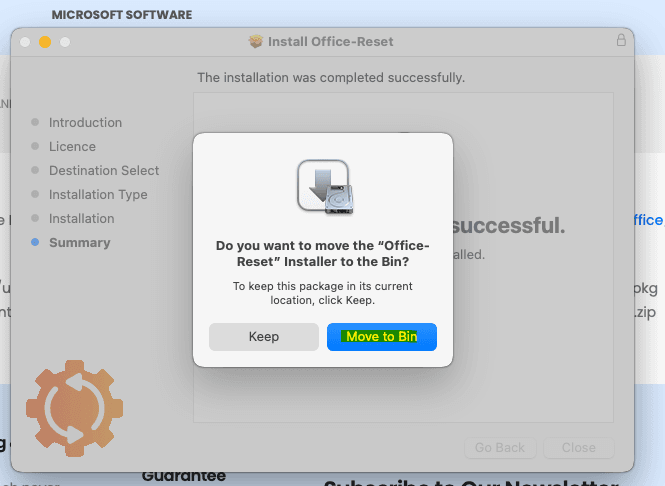
Part 2: Install Office 2024
Step 13: Download the Office 2024 Installer
Note: The installer may reference Microsoft 365 — this is expected. It will install Office 2024 Home & Business.
Steps 14–16: After the download completes, open your Downloads folder and double-click the installer
Steps 17–21: Follow the installer prompts: click Continue, Agree, then Install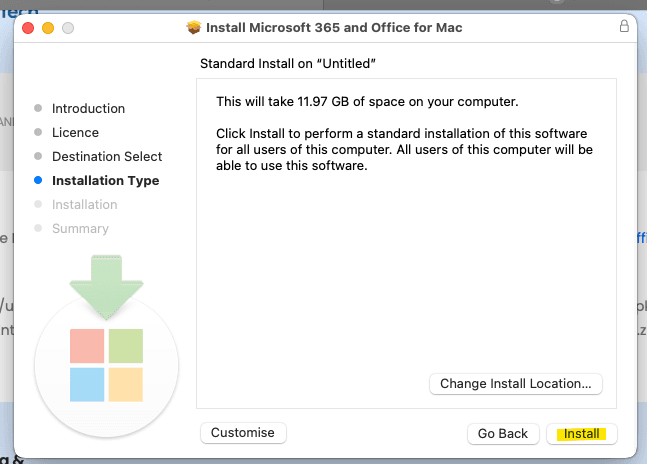
Steps 22–24: Once installation is complete, click Close and select Move to Bin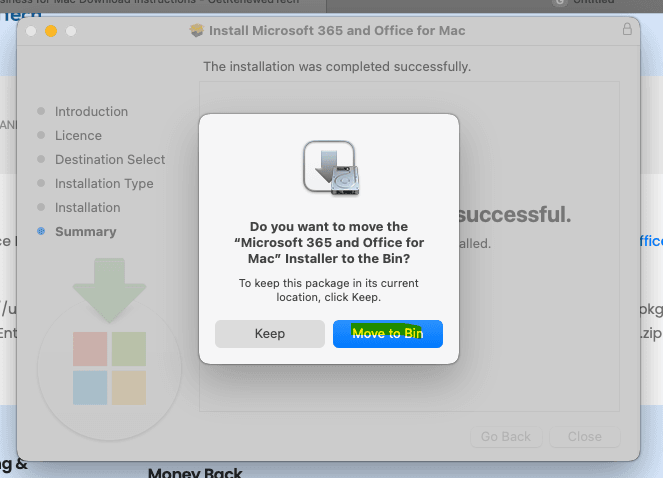
Step 25: Click OK to confirm
Step 26: Close the Office AutoUpdate window — updates will be managed automatically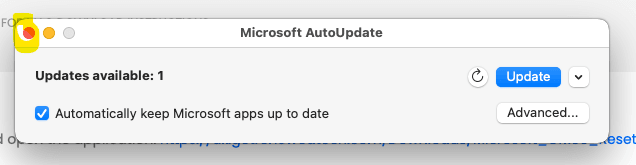
Part 3: Activate Office
If you do not complete the activation step below, Office will operate in Read-Only mode.
Step 27: Download the Office Activation Tool
Step 28: Open your Downloads folder
Step 29: Launch Office 2024 Mac Activation.app.zip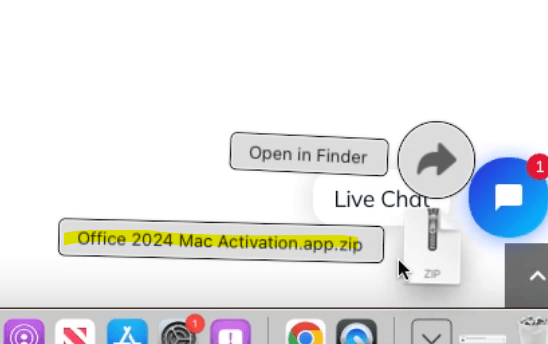
Step 30: Click Allow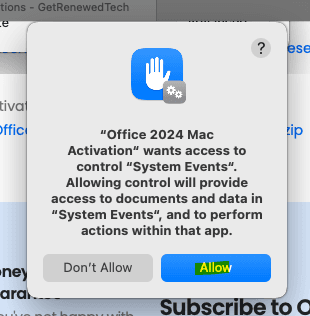
Step 31: Open Office 2024 Mac Activation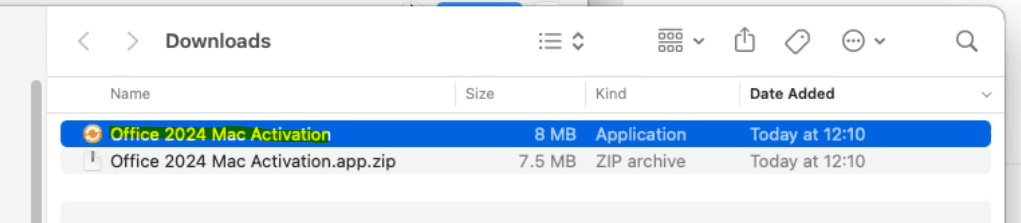
Step 32: Carefully enter your 25-digit product key in CAPITAL LETTERS and include the hyphens.
Step 33: When the prompt stating “License key accepted. Installing…” appears, click OK immediately.
Step 34: Wait for the message “Installation Completed Successfully”, then click OK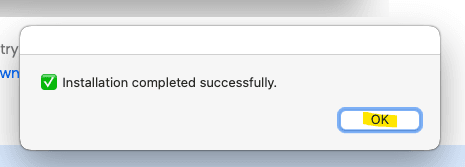
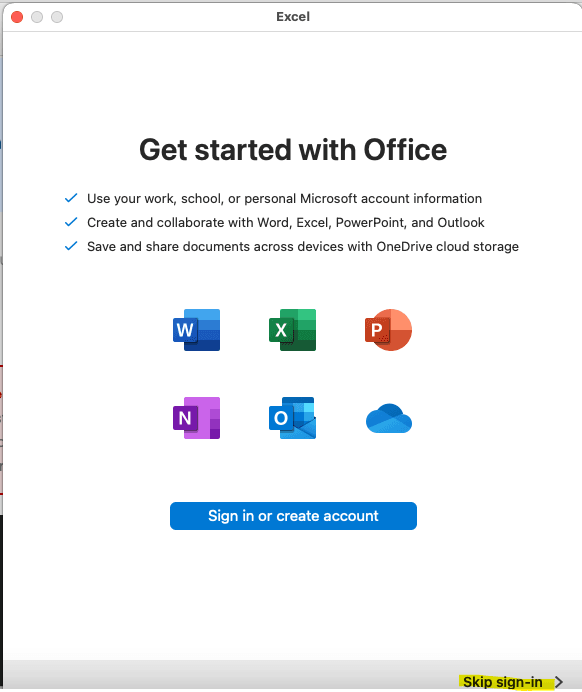
Step 35: Open an Office application (Word or Excel) and click Skip Sign-in
📺 NOTE:
DO NOT SIGN IN. CLICK SKIP SIGN-IN. SIGNING IN AT THIS STAGE WILL CAUSE OFFICE TO REVERT TO MICROSOFT 365 AND REQUIRE A FULL REINSTALL.
Office is now ready to use.
⚠️ Important Newer Versions of MacOS (PLEASE READ)
If you see a message stating the installer was prevented from making changes, follow these steps:
- Click the Apple menu
- Open System Settings
- Select Privacy & Security
- Scroll down to the Security section
- Locate the message stating the installer was blocked
- Click Open Anyway
- Confirm by clicking Open
- Return to the installer and run it again
- When prompted, click Allow and enter your Mac administrator password
Note: The Open Anyway option only appears after macOS has blocked the installer once.